Environment Setup
Capacitor has three officially supported application targets: Android, iOS, and Web. In order to create applications for all three platforms, you'll need to install all of the following dependencies. If you are not targeting one of the native mobile targets, you can skip the associated section.
info
Core Requirements
In order to develop any application with Capacitor, you will need NodeJS 14 or higher installed. You can install Node by using the installer on the Node website, using Volta: a JavaScript tools manager, or installing it with a package manager like homebrew, or Chocolatey.
Once you have installed Node, open your terminal of choice and type in the following command to make sure node is properly installed
node --version
# v18.3.0
With Node installed, you can get started with creating Progressive Web Applications (PWA) with Capacitor.
iOS Requirements
To build iOS apps, you will need macOS. While there are solutions like Ionic Appflow that can be used to perform iOS cloud builds if you don't have a Mac, it is highly recommended to have the tools available to you locally in order to properly test your Capacitor application.
In order to develop iOS applications using Capacitor, you will need four additional dependencies:
- Xcode
- Xcode Command Line Tools
- Homebrew
- Cocoapods
Once you've installed the core requirements, as well as Xcode, Xcode Command Line Tools, and Cocoapods, you'll be able to create both iOS applications and PWAs.
Xcode
Xcode is Apple's IDE for creating native macOS, iOS, and iPadOS applications. You can install Xcode by using the Apple App Store on your Mac. Capacitor 4 requires a minimum of Xcode 13.
Xcode Command Line Tools
The Xcode command line tools are additional tools not included with the core of Xcode that are required for building and testing your application. Once Xcode has been installed, you can install the Xcode Command Line Tools by running the following command in your terminal:
xcode-select --install
After inputting your password and waiting for a few minutes for the packages to install, you can verify that the tools are installed by running the following command:
xcode-select -p
# /Applications/Xcode.app/Contents/Developer
Homebrew
Homebrew is a package manager for macOS package. You need to install it in order to install CocoaPods for both Intel and Apple Silicon Macs.
To install Homebrew, run the following bash command:
/bin/bash -c "$(curl -fsSL https://raw.githubusercontent.com/Homebrew/install/HEAD/install.sh)"
info
Don't just trust us! This is how brew.sh recommends installing Homebrew.
If you do not want to install Homebrew, instructions can be found below for an alternative; however, this is not recommended.
CocoaPods
Cocoapods is an iOS dependency manager that Capacitor uses to install and manage native dependencies for your iOS project. You can install CocoaPods by running the following command in your terminal
brew install cocoapods
You can verify that CocoaPods has installed correctly by running the following command.
pod --version
# 1.11.3
Installing CocoaPods without Homebrew
You can install CocoaPods directly with Ruby Gem. To install it, you can run the following command.
sudo gem install cocoapods
However, installing CocoaPods this way will not work on Apple Silicon Macs. You will need to run CocoaPods through Rosetta enabled. To do this, you can run the following commands.
sudo arch -x86_64 gem install ffi
Then, whenever you want to update your application to use a newer version of your web code, you will need to run the following commands.
npx cap copy
arch -x86_64 pod install
Android Requirements
In order to develop Android applications using Capacitor, you will need two additional dependencies:
- Android Studio
- An Android SDK installation
note
You do not need to separately install the Java Development Kit (JDK). Android Studio will automatically install the proper JDK for you.
Once you've installed the core requirements, as well as an Android SDK with Android Studio, you'll be able to create both Android applications and PWAs.
Android Studio
Android Studio is Google's IDE for creating native Android applications. You can install Android Studio by going to the Android Studio download page. Capacitor 4 requires a minimum of Android Studio 2020.1.
Android SDK
Once Android Studio has been installed, you need to install an Android SDK package.
Developing Android apps requires some Android SDK packages to be installed. Make sure to install the Android SDK Tools, and a version of the Android SDK Platforms for API 22 or greater.
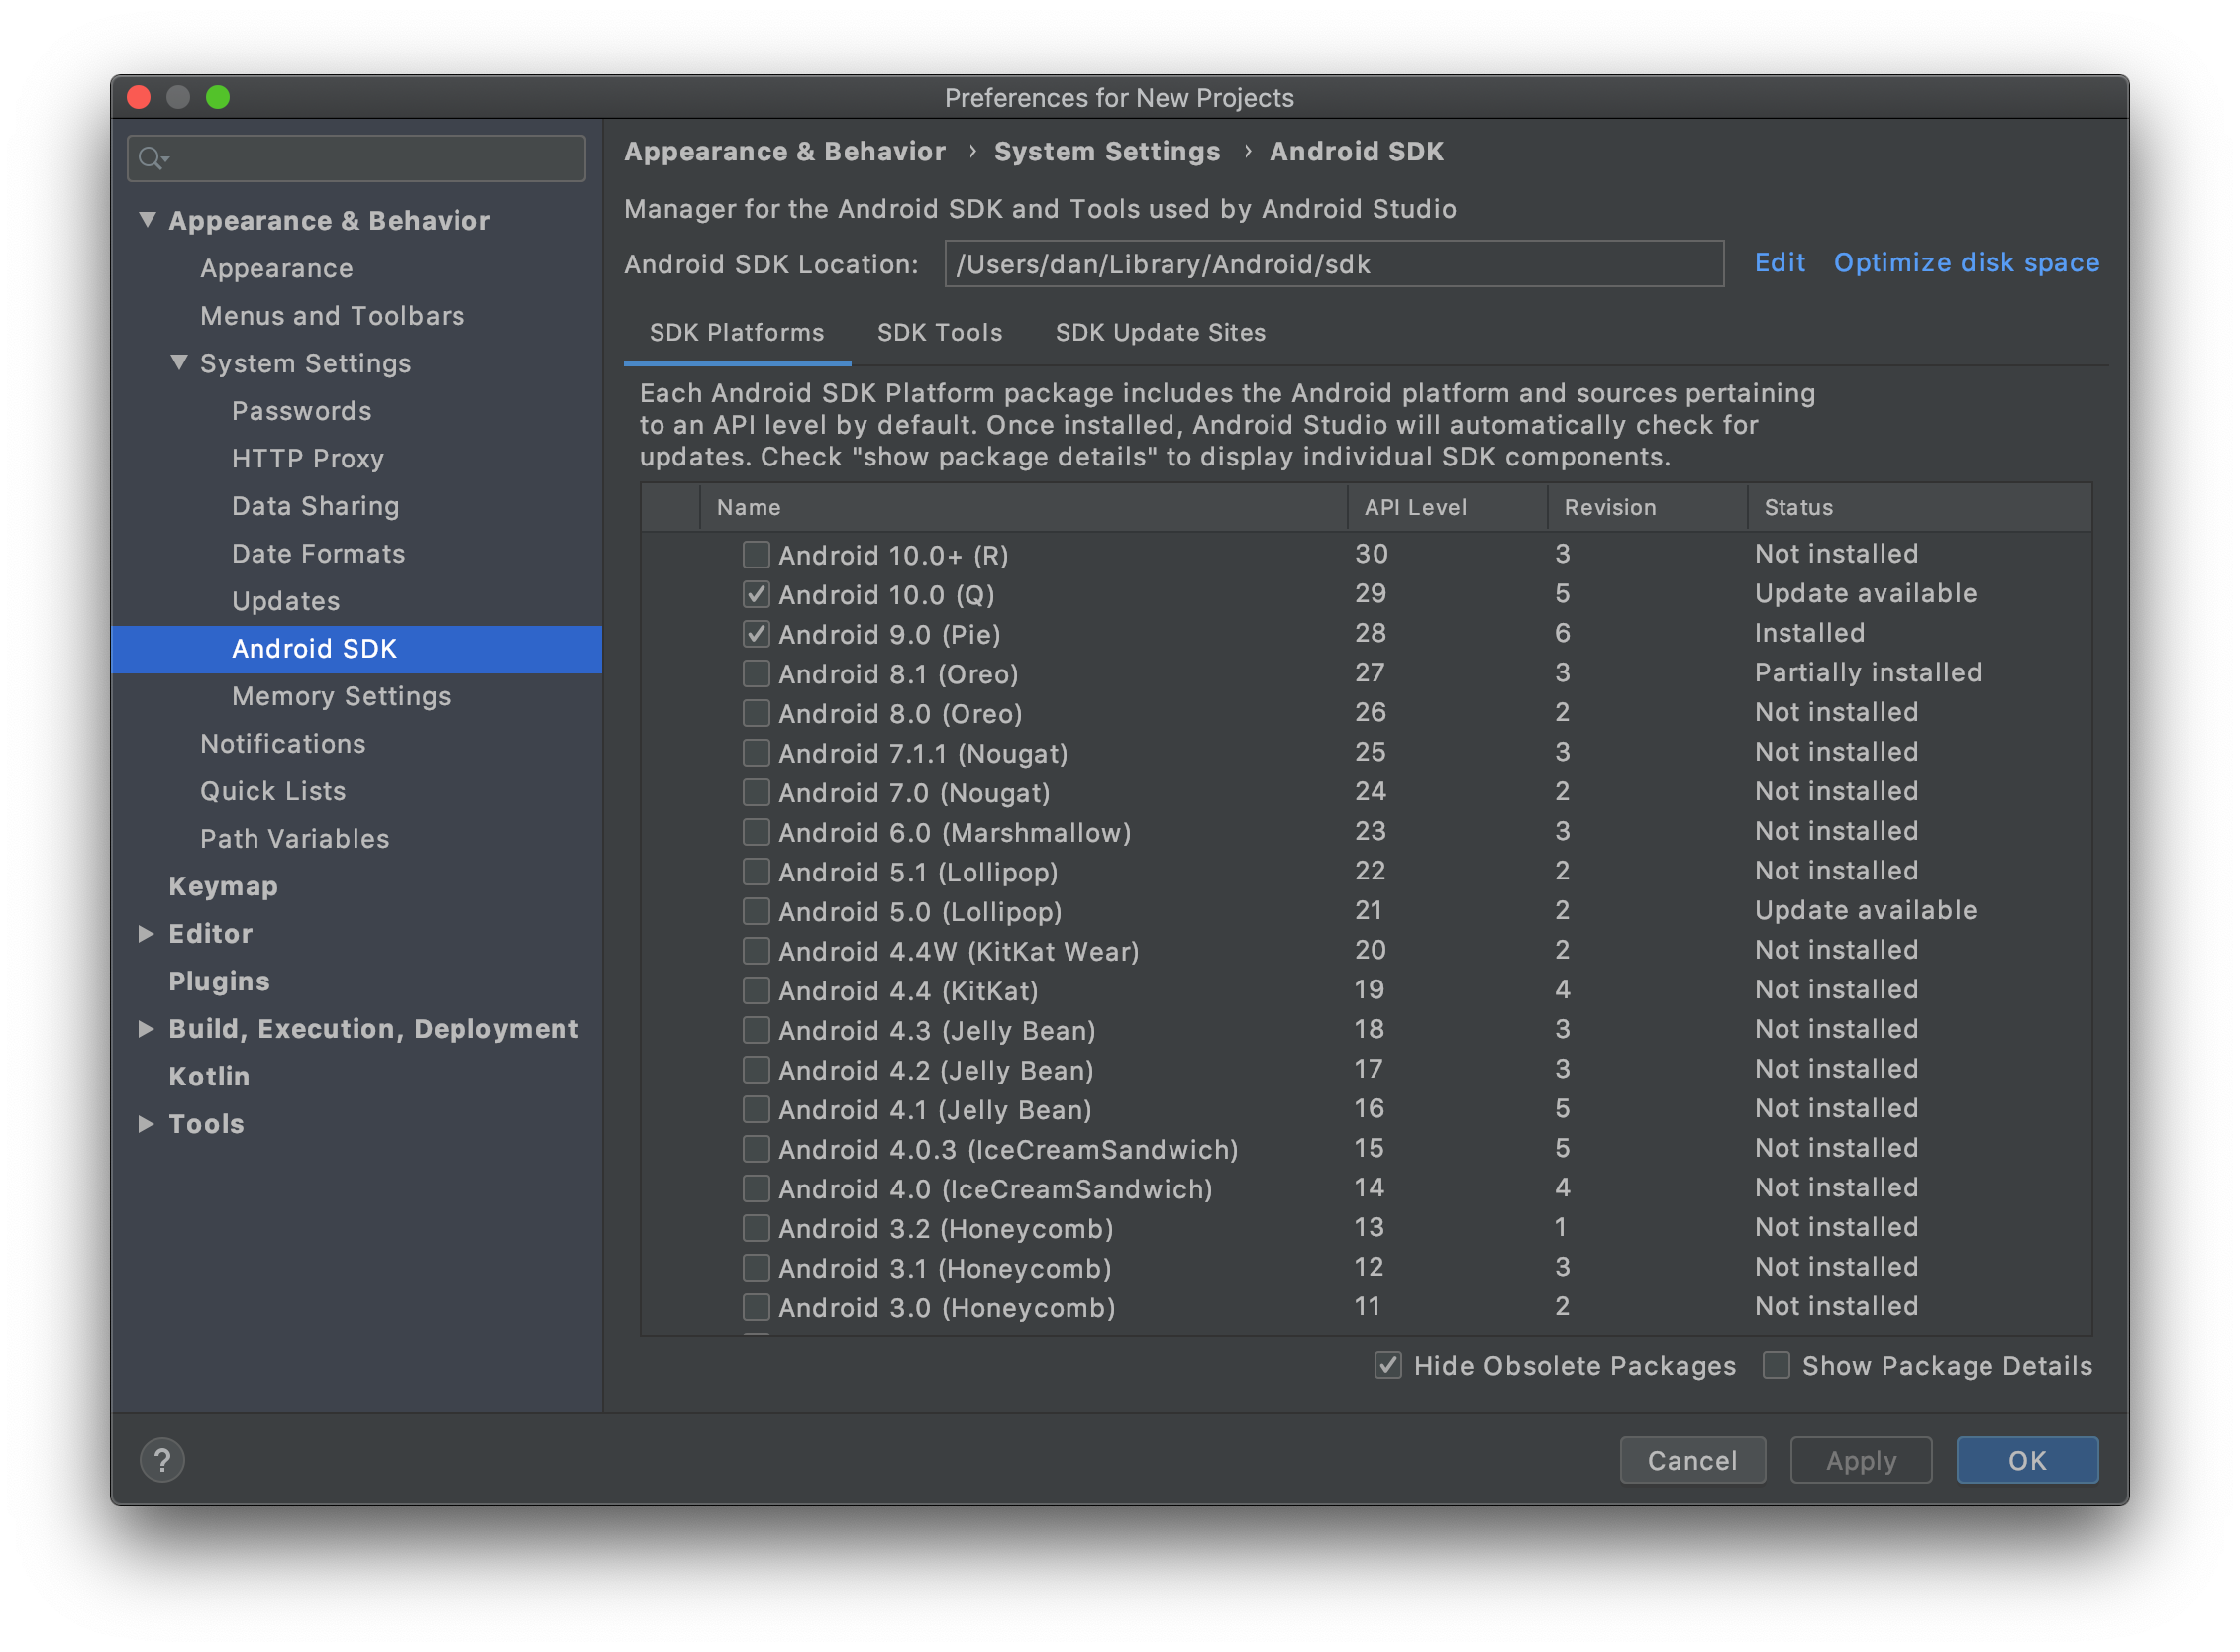
In Android Studio, open Tools -> SDK Manager from the menu and install the platform versions you'd like to test with in the SDK Platforms tab:

To get started, you only need to install one API version. In the above image, the SDKs for Android 10 (API 30) and Android 11 (API 31) are installed. The latest stable version is Android 12 (API 32).